Jenkins Pipeline Az Cli Copy Files Restart Service Azure Windows Iis Upload
Containers are fast becoming the preferred way to parcel, deploy, and manage cloud applications. Azure Container Instances offers the fastest and simplest mode to run a container in Azure, without having to manage any virtual machines and without having to adopt a higher-level service.
Azure Container Instances is a great solution for any scenario that can operate in isolated containers, including elementary applications, task automation, and build jobs. Also, Azure Container Instances supports the deployment of multiple containers onto a single host by using a container grouping aka pods in terms of Kubernetes. Multi-container container groups or Pods are useful when edifice an application sidecar for logging, monitoring, or any other configuration where a service needs a second attached process.
In this blog mail service, nosotros'll create an ASP.Cyberspace Core App, containerize information technology and configure CI/CD for same using Azure Pipelines (or Azure DevOps pipelines).
This tin be also be idea of as the follow-up on previous web log post where we learned steps to create Container Instances using .NET Cadre and Docker and deploy the same from Azure Portal. However, instead of using manual steps, nosotros would at present need to configure CI/CD pipelines for same. So the focus will be restricted to steps required for same.
Create a ASP.NET Core Web Awarding
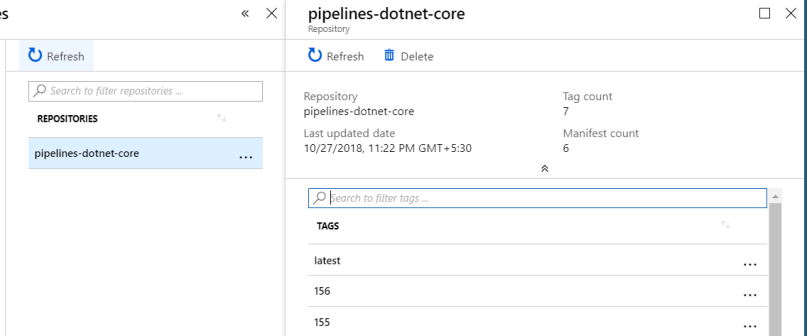
For demo purpose, we have used the source code in 1 of the sample repositories provided by Microsoft at: https://github.com/MicrosoftDocs/pipelines-dotnet-core
It contains the sample .Net Core code forth with few test cases and dockerfile to convert it into a docker image.
Upload the source code in Azure Repos
Before, we can practise the build and release using Azure Pipelines, we'll need to upload source code to Azure Repos. For steps on how to upload source code to Azure Repos using Git, refer here.
Yous tin can besides choose to directly import source code into Azure Repos from GitHub.
Configure Continuous Build Pipeline
For this, go to the required Project in Azure DevOps and become to Azure Pipelines section. From there, we tin create new Build Pipeline:

We can choose to configure pipeline using YAML provided in the source repository itself or define our tasks in old fashioned way. Side by side few steps contains configuration for manual steps in the build configuration.
For this, we first need to kickoff with an empty job while creating new pipeline. Permit's select agent pool as 'Hosted Ubuntu 1604' and provide a name for the pipeline:

Since our Dockerfile is very blank, we'll first demand to add steps to build and publish .Internet Core image. Permit'south go to add together tasks and add 3 tasks for .NET Core: Build, Test and Publish.
For the Build chore, provide values as below:

For the Test task, provide values as beneath:

For the Publish task, provide values as below:

We now need to add couple of tasks for docker build and push. Again, go to the list of tasks and add docker job twice: One for building paradigm and second to publish paradigm.
Configure docker build task as below:

Thereafter, configure docker publish job equally below:

Yous may cull to not use Azure Container Registry (ACR) and use a provider registry of your choice.
Once everything is configured, run the build pipeline, and it should get completed successfully:

Also, we should at present be able to see the docker image created in the specified registry and repository:
Configure Continuous Release Pipeline
Now, in the Azure Pipelines section, we offset need to go the release and and then select 'create a release pipeline':

Over again, nosotros need to get-go with an empty job so that we can conform it as per our needs and provide a name for the release definition. For the purpose of demo, nosotros have named release definition as dotnetcore-acr-cd.
Adjacent, we demand to add artifacts to our awarding. Since all we want to deploy is an docker image located in the ACR, select artifact type every bit the Azure Container Registry (ACR). It will ask for few other details such as name of the registry and name of the repository containing the docker epitome and y'all need to provide values specific to your environs:

If you are using individual or docker hosted repositories, you tin instead select artifact type every bit 'Docker Registry' and provide appropriate values.
Next, nosotros need to enable the continuous deployment trigger.
After this, nosotros need to add our tasks in a stage. Note that there are no inbuilt tasks to deploy Azure Container Instances. Since nosotros would be using azure cli for this purpose, we demand to add azure cli job from the listing:

Next, change the command to inline script and provide below control:
az container create –resource-group aci-rg –name aci-demo-app –image $(acrLoginServer)/pipelines-dotnet-core:latest –cpu 1 –retention 1 –registry-login-server $(acrLoginServer) –registry-username$(acrName) –registry-countersign $(acrPassword) –dns-name-label aci-demo-app –ports 80
Annotation that, we are supplying the values of Azure Container Registry and Authentication details using the variables in above command.

Adjacent, we demand to save the release definition and create a release. If all goes fine, yous would exist able to see the release completed successfully:

Likewise, container example should be view-able in the azure resources and you tin access the aforementioned using the URI of the case:

Source: https://mohitgoyal.co/2018/11/01/configure-ci-cd-for-azure-container-instances-using-azure-azure-devops-pipelines/
Post a Comment for "Jenkins Pipeline Az Cli Copy Files Restart Service Azure Windows Iis Upload"